Curated with aloha by
Ted Mooney, P.E. RET

The authoritative public forum
for Metal Finishing 1989-2025

-----
IGA/EGP testing to ASTM F2111
IGA = Inter Granular Attack
EGP = End Grain Pitting
Q. Hi,
I have been trying to perform ASTM F2111 intergranular attack testing on 2024T851 aluminium. I am a bit confused as to how to interpret the specification as it asks me to mount the specimen in a round metallographic mount, but then asks me to examine the surface that has been covered by the mount.
Additionally, the spec wants me to look at the width and depth of the pits, but when I place it under the microscope I get a 2D image. I can measure length and width but depth is not possible.
If anyone can help I would appreciate it as I am at my wit's end.
Kind Regards,
- Blackburn Lancashire
September 13, 2023
Tip: This forum was established to build camaraderie among enthusiasts through sharing tips, opinions, pics & personality.
The curator & some readers who publicly share their info will be less likely to engage with those who don't.
A. A classical way of measuring depth on an optical microscope is to use focus: focus on the top surface, and then on the base of the pit, and use the difference in focal height to work out the depth.
This requires only a calibrated fine-focus knob with some graduations. World's most accurate method? No, but for many cases it is plenty sufficient.
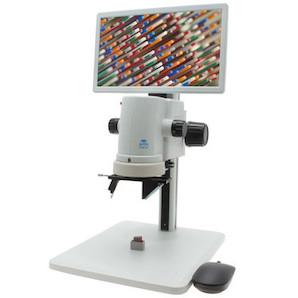
There are also these days plenty of 3D measuring microscopes (optical or laser based). These will create a 3D surface map and let you take measurements from it (2D/3D). More pricey but a reasonable investment if you're going to be doing a lot of this sort of work.
- Melbourne, Australia
September 18, 2023
Q, A, or Comment on THIS thread -or- Start a NEW Thread
