Curated with aloha by
Ted Mooney, P.E. RET

The authoritative public forum
for Metal Finishing 1989-2025

-----
Geometric Tolerancing
Q. Please help I'm trying to access any definitions possible for Geometric Tolerancing? I'm under the impression that it pertains to the special considerations involved when plating unusual pieces to be plated........? Can anyone please either concur or further define this topic?
Geometric Tolerancing? Thanks......
Paul MillarCanada
1998
A. Paul,
Lots of manufactured parts have geometric tolerances, it isn't just for plated parts, for example tolerances of concentricity between two diameters on a shaft. Its pretty common most of the symbols are universal I would of thought any engineering drawing textbook would have details, in fact I think I saw one in the Hanser Gardener catalogue or even your local library.
Regards
Richard Guise- Lowestoft, U.K.
by David A. Madsen

on AbeBooks
or eBay or
Amazon
(affil links)
A. There are many references to Geometric Dimensioning and Tolerancing out there. The best reference is ASME Y14.5 Standard for Dimensioning and Tolerancing (American Society of Mechanical Engineers) [on AbeBooks, or eBay, or Amazon affil links] . This is the recognized standard for geometric tolerancing in the United States - though some other countries use the ISO standard. ASME Y14.5 is a legally defensible document for applying geometric tolerances.
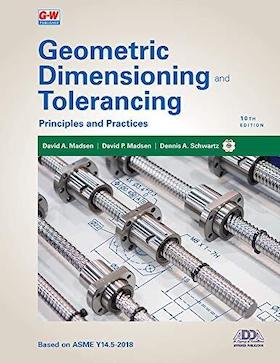
The standard contains information also on plating and coated parts. There are also excellent text books and training materials out there - such as: Geometric Dimensioning and Tolerancing by David A. Madsen (published by Goodheart-Wilcox Company) ⇨
Connie Dotson- Canton, Michigan
A. Paul: Geometric dimensioning and tolerancing refers to symbols and allowances that control an object's form, profile, orientation, location and runout. It's found on drawings in the form of a block containing (first) the symbol (14 basic) including concentricity, perpendicularity, angularity, total runout, etc., and a second box containing a tolerance and (possibly) a modifier - such as a Dia. symbol or Maximum Material Condition - MMC, and (depending on the case) a third - or more - box(es) referring to the datum(s).
Daren Lawrence- Milford, New Hampshire, USA
Q, A, or Comment on THIS thread -or- Start a NEW Thread